
Loyal readers of Tech Tips may recall that our Company distributed carbon mics from Ellis Electrical Laboratories in 1930/31, and then we began manufacturing Shure branded carbon models in 1932.
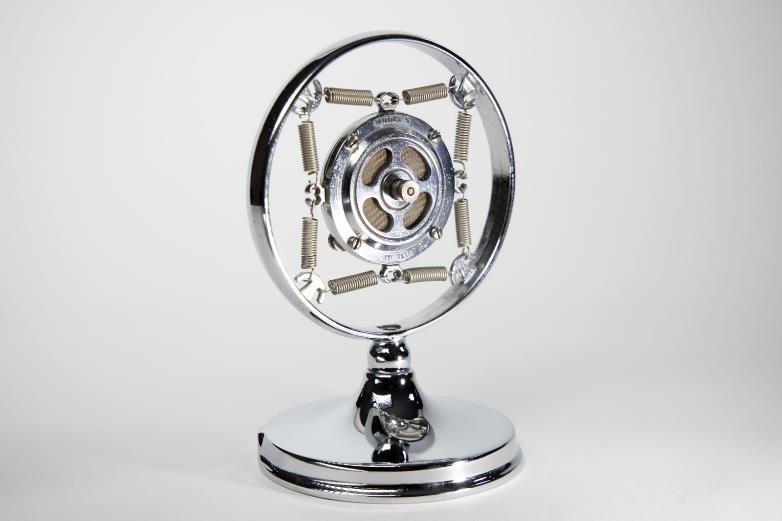
Shure Model 5B carbon microphone, 1936
As a technical refresher, here is a simplified diagram of a carbon mic element and external circuit:
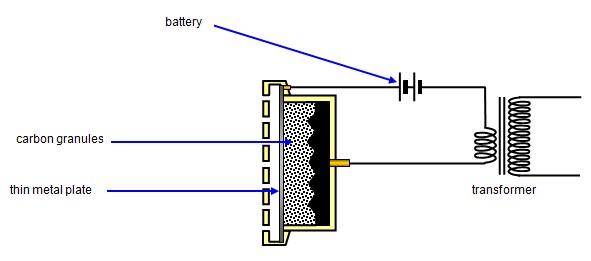
Carbon mic element and circuit
The bowl of carbon granules creates a variable resistor whose ohmage changes as the diaphragm [a thin metal circular plate] vibrates against the particles, creating compression and decompression.
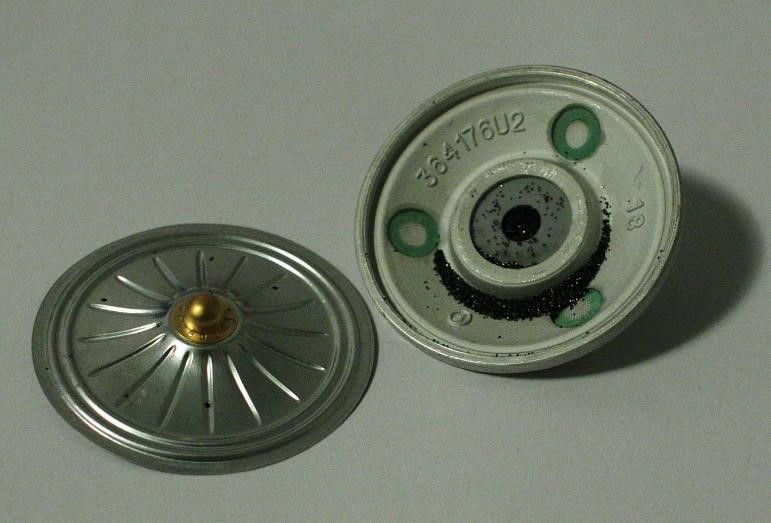
Carbon mic diaphragm (left), dislodged carbon granules (right)
Photo by Olli Niemitalo
For decades, your author thought the granules required for carbon mics were purchased from suppliers. A recent discovery in an engineering lab notebook from 1943 dispelled this incorrect notion.
Here are the ten steps that were employed at Shure to create microphone-grade carbon particles from lumps of coal.
Date of lab notebook entry: December 11, 1943 [just over 80 years ago]
- Purchase hand-picked, high-carbon, anthracite coal mined at Buck Mountain, Pennsylvania.
- Break up coal into smaller pieces using a handheld hammer.
- Mill the smaller pieces 12 times using a hand grinder.
- Sift the milled particles using 40 to 80 mesh screen.
- Wash the sifted granules 12 times in water.
- Thoroughly dry the washed granules.
- Clean the dried granules with carbon tetrachloride.
- Pass the cleaned granules through a magnetizer to remove all ferric particles.
- Bake the granules for one hour at 225 degrees Fahrenheit.
- Measure granules with ohmmeter to confirm they meet the specified resistance range.
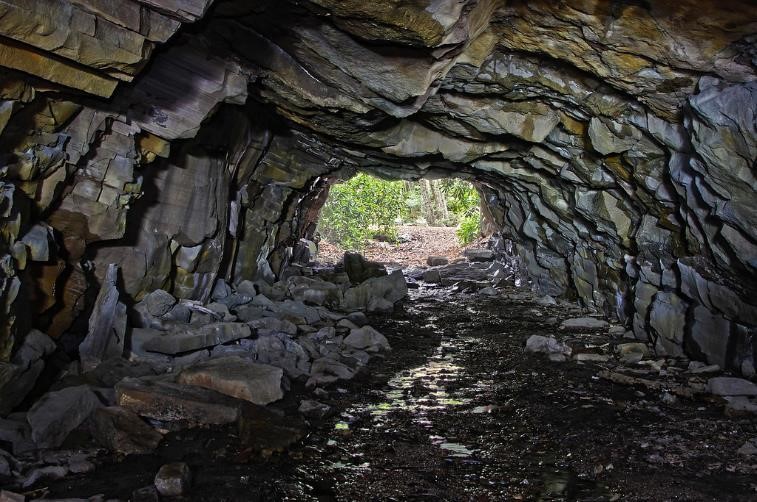
Buck Mountain coal tunnel
There was no Internet…no Amazon…no Grainger. Buy lumps of coal, then hammer, grind, sift, wash, clean, and bake the coal to create carbon granules for our mics – a dirty secret indeed.
